Giving crafty inspiration and tips to take your handmade projects to the next level. Make personalised projects you can be proud of. Find tutorials to help you make beautiful thing and you can even get templates to help you market your makes or just show them off on social media.
I am so happy to be able to say that I have been given the final challenge for theAltenew Educator Certification Program (AECP)and it is a challenge of 2 parts so this is my first of two posts about it. You can find my second postHERE
**** Warning this is a long post but I think you will like it 😊 ****
The first part of the challenge tackles something that I know a lot of crafters struggle with.....making masculine cards!
The challenge is to create 4 masculine cards with the following themes:
- Birthday
- Love/ Thinking of you
- Anniversary
- Encouragement
For the second part of the challenge I have to create an Altered item or upcycle project so if you would like to see that then please be sure to check my next post 😁
I could select any 3 components from the classes I have done for either level 1 or 2 of the AECP as my inspiration.
I need to submit my projects to Altenew by the 16th of June 2022.
I had a lot of fun making this set of cards so I hope you like them and are inspired.
One of my top tips for getting your creativity flowing is to limit yourself with the stock that you are working with. So for these cards I decided that I wanted to limit my self to 3 colours and use the geometric theme so I made the decision to focus all my cards around the Trigonometry stamp and die set.
Once I knew what I wanted my focus to be I stamped and die cut a whole load of the great fun triangles out so that I could then play with them and work out what layouts I might want to use.
For these cards I have used things from various classes but my main inspiration is from the following classes:
For the Guys - Using Geometric patterns/shapes and bright colours
Polychromatic - Use white space to let the colours pop
I love the way that when you are making cards you can play around laying all of the elements out to work out how you want it to look before you stamp it out. This video shows the steps I took to put this card together.
Here is the finished birthday card. I like that it is clean and simple with lots of white space to make those colours really pop.
2. Love/ Thinking of you card
I decided to focus on love for this card as that was more of a challenge for me personally. The Trigonometry stamp set does not really have any love sentiments in it. I wanted a font that was not too curly to fit for the masculine look and looking through my stamp sets I found there were two stamps in the Handmade tags stamp set that I could use to get the look and love themed sentiment I wanted.
In a similar way to the video for the first card I played around with my stamped and cut triangles on my card blank seeing what way I liked them laid out before I stuck this card together.
I used 5 triangles to go across this C6 size card about a third of the way up the card.
I lined them all up using my ruler and the grid on my glass mat to make sure they are straight.
For the sentiment I cut a 5cm x 5cm square in white card to stamp the sentiment on then cut a 5.5cm x 5.5cm square of the same white card and used the Jet Black crisp dye ink to ink the paper and colour it black. I fixed the sentiment square onto the black square with foam pads so it was popped up a bit.
Before sticking anything down I drew a border around my card base with the Altenew fine liner 02 and then filled it around the edge with the Altenew brush marker to give a thick black line around the edge of the card. You can get both of these pens plus 2 more in the fine liner pen set.
Next I stuck the triangles I had chosen down in the line across my card and trimming the edges where they over hung the card, before taking some of the smaller triangles and placing the un-inked stamps around the top part of the card as I felt it looked just a bit too empty. I wanted to see what they might look like to add interest to the white space. I liked the way they were looking so added some in black and a few in yellow because I realised I had covered most of the yellow larger triangles so wanted to balance the card out a bit more.
Finally after doing all my stamping I fixed the sentiment onto the card using liquid glue so that I had a bit of wiggle time to make sure I was happy with the placement of it. I am so happy with the way this card turned out.
3. Anniversary Card
I mixed and matched supplies a bit again for this card. The "happy" sentiment die is from Heffy Doodle and so is the stamped anniversary sentiment. Again I wanted the text to be in a font that was not to curly to really fit with the masculine feel I was going for and these seemed the perfect choice from my supplies. The stamped anniversary is from the classic sentiments stamp set and I masked part of the stamp as it actually says "happy anniversary" however I wanted to make the Happy with the die cut to add some more interests and dimension to my card. In fact I cut the happy out 3 times in white card and once in the same white card but I inked the white card first withJet Black crisp dye ink. Then I layered them all on top of each other so it became nice and chunky.
TOP tips:
You can do so much more with your sentiment stamps than just ink and stamp them. Look at all the individual words and you can use them all separately to create your own sentiments that say exactly what you want. For this card I used a bit of tape over the word I did not want when I applied the ink and then removed the tape before stamping the stamp. This meant there was only ink on the word I needed. However if you are really brave you could also carefully cut your sentiment stamp to be individual words.
For my layout again I played around working out a new way to arrange all of those triangles until I found a way that I really liked the look of. For all of these cards I am trying to keep the patterns looking quite random which can be a challenge for me. By that I mean I didn't want to have all of just one colour way on a card or all of the spotty ones. Does anyone else struggle with making things look random rather than planned? 😂
Once I had the triangles all lined as I wanted I stuck them to the card with liquid glue and trimmed off any triangles that over hung the edges of the card. I cut a strip of white card which I stamped the anniversary sentiment onto and then cut an angle across the end of the strip.
Taking the Altenew fine liner 02 again and my ruler I drew a frame around the outside edge of my card going across all those triangles as well and then also edged the white anniversary sentiment strip the same way.
Here is a very quick video with my step by step process for this card
4. Encouragement card
This card used the most of those fun triangles of all of the cards I made for this set. I have put together a little video of my process putting this card together. In this card the sentiment is also from the Trigonometry stamp set so you can recreate this card in any colour way you like with 1 stamp and die set.
I am happy with this card and I think putting the triangles on an angle across the card leads your eye along the sentiment. With life the way it is at the moment I think I will be making a few of these in different colours to send out to my friends.
I think the whole set looks really nice together and it shows just how far you can stretch one stamp set. I feel like although it is masculine this set would be nice for anyone. Plus by just changing up the colours it would have a completely different look. This was a challenge for me but I am so happy with how this set looks and it has made me thing about doing the same thing with more of my stamp sets. By limiting myself in the supplies I used I really got inventive with how I was using this stamp set and I loved playing with it. I also have lots of other ideas for it now and I love getting the most from my stash. I hope this has inspired you and given you some ideas for making masculine projects and to get some ink on your stamps 😀
That is my 4 cards for the first part of my challenge and I am so excited to show you what I have done for the second part. I decided to use the same sort of colour way but change it up to be less masculine. If you would like to see what I did keep following my blog and I will have the post up for it soon.
I am so mega excited to be able to share this new Mermay release from Sweet November Stamps. There is also a great hop going on this weekend where you have the chance to win the entire new release! So be sure to hop on over to @sweetnovemberstamps and follow along the hop as you have to be in it to win it. There are more chances to win as well because if you are one of the first 5 people to make an order from the Crafty Purple Frog Shop over £30 that includes a Sweet November Stamps item then I will add in a random one of the new release stamps for free!!
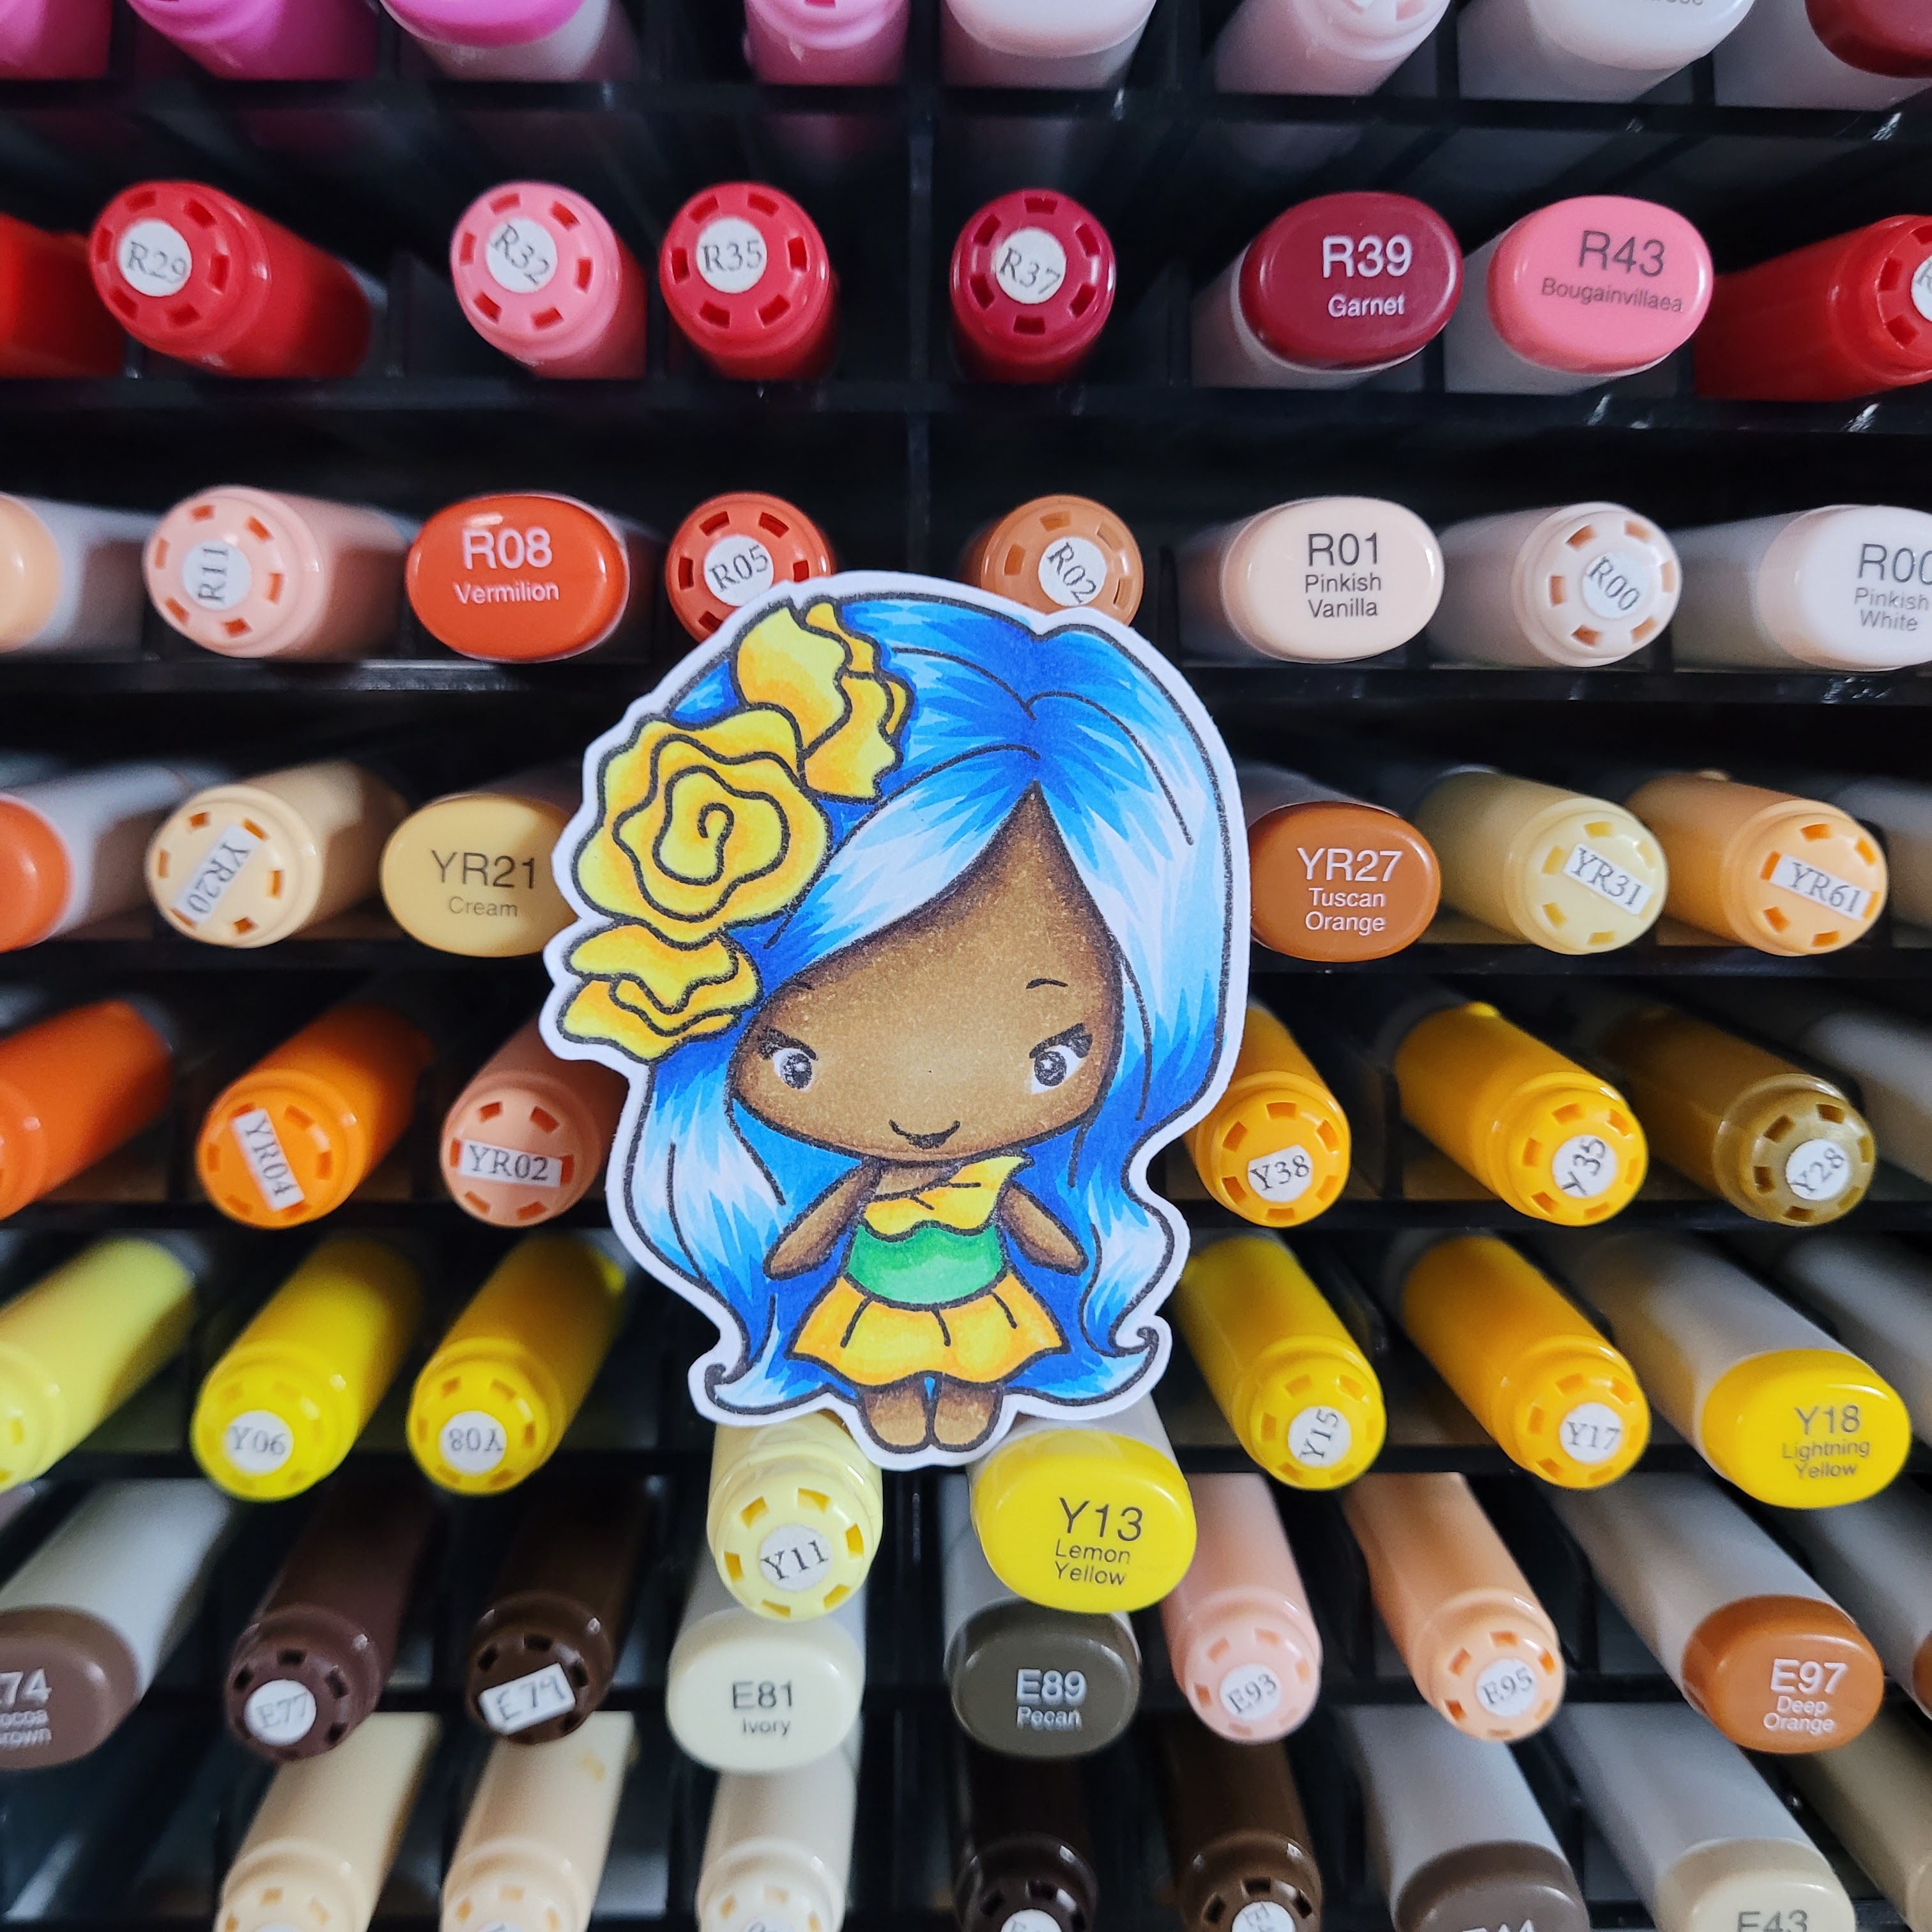
This little cutie is called Calico and she is flying her flag high and proud. I coloured her with Copic markers and then have made this little scene for her.
A great group of crafters have come together to spread love, joy and encouragement to our younger generation. Do you have ateenager in your household or maybe a younger child who struggle withSelfEsteem, please share with them the lovely projects in thishopand maybe they can take some encouragement away from it!
Don’t worry you have 7 days tohopalong so feel free to keep popping back!
To enter please go to the Crafty Purple Frog Instagram ( @craftypurplefrog ) and hop along to see everything :)
If you get lost along the way please visit @jasmincraftymakes to find the full line up!
You have until 14th May tohopalong; winners will be announced by 18th May on @jasmincraftymakes IG
Sponsor Prizes:
Heffy Doodle - £40 voucher
Whimsy Stamps - $25 voucher
Janes Doodles - $30 voucher
My Perfect Stamps - £25 voucher
Scrappy Boy Stamps - Stamp set of your choice (US only)
Scrappy Tails - $25 voucher
Time for Tea Designs - £20 voucher
JasminCraftyMakes - Mystery craft box of new or lightly used supplies worth £100+
Crafty Purple Frog - Free Digi images (scroll down to grab yours!)
Artful Angel - $10 voucher
This is my make for the hop. I have used the digi set that is free this week from Crafty Purple Frog to celebrate the hop.
You can grab your FREE digi set HERE until the 15th of May. You will need to use the password: TSEH2022
This weekend as you may have seen we are celebrating as there is a new release for Mermay coming our way. Sweet November Stamps have a gorgeous new release that you can see some sneak peeks of in this video.
But there have also been 2 previous mermay releases from Sweet November Stamps and this weekend we at Crafty Purple Frog and the Sweet November Stamps team are revisiting them so be ready for lots more inspiration and mermaid goodness. For my card I have used the Goldie stamp set and combined that with the horizon lines under the sea stamp set. The sentiment is from a Greeting farm set called Bring me smiles.
Thank you for taking the time to look at our blog.
I am going to share a range of copic colour combinations and I have loaded a blank colour combination chart so that you can keep your own record of your favourite colour combinations. You can find it here or in the tab at the top of this blog. Right click the chart you want save it and then print as much as many as you need. This works best if you print it onto the card or paper you use to colour on.
I was asked about what colour combinations I like to use for blue jeans and this is the first one of a few I will be sharing. This blue can of course be used for other things as well though.
I am going to share a range of copic colour combinations and I have loaded a blank colour combination chart so that you can keep your own record of your favourite colour combinations. You can find it here or in the tab at the top of this blog. Right click the chart you want save it and then print as much as many as you need. This works best if you print it onto the card or paper you use to colour on.
This colour combination is one I like to use as a skin tone.
I am going to share a range of copic colour combinations and I have loaded a blank colour combination chart so that you can keep your own record of your favourite colour combinations. You can find it here or in the tab at the top of this blog. Right click the chart you want save it and then print as much as many as you need. This works best if you print it onto the card or paper you use to colour on.
This is the first colour combination and it is one I like to use as a skin tone.